Elasticsearch常见问题与解决方法 工作中遇到的问题及解决方法,本程文章持续会更新
问题及解决方法
索引字段
默认为1000,如果超过了这个默认值则日志数据无法写入到Elasticsearch 调整索引字段的个数如下所示:
1
2
3
4
5
|
#对于‘your_index_name’这个索引设置fields为无限制,默认为1000
curl -XPUT yourEShost:port/your_index_name/_settings -d '{"index.mapping.total_fields.limit": 0}'

#这个表示对所有index的fields的limit设置为50000
curl -XPUT 10.0.1.1:9200/*/_settings -d '{"index.mapping.total_fields.limit": 50000}'
|
调整磁盘使用的百分比
1
2
3
4
5
6
7
8
9
|
PUT /_cluster/settings
{
  "transient": {
    "cluster.routing.allocation.disk.watermark.low": "90%",  # 最低可使用
    "cluster.routing.allocation.disk.watermark.high": "95%", # 最高可使用
    "cluster.info.update.interval": "1m"  # 集群刷新时间
  }
}
# low 最大只能调整到 90% 也就是说集群必须保证10%的可用空间
|
磁盘达到90%之后,es集群变成只读模式,磁盘空间调整后还是只读模式,可以使用以下命令来配置改变只读模式:
1
2
3
4
5
6
7
|
{
    "index": {
        "blocks": {
            "read_only_allow_delete": "false"
        }
    }
}
|
分片迁移
 1
 2
 3
 4
 5
 6
 7
 8
 9
10
11
12
13
14
|
# http://ip:9200/_cluster/reroute
# post
{
    "commands":[
        {
            "move":{
                "index":"索引名称",
                "shard":分片号,
                "from_node":"源节点名称",
                "to_node":"目的节点名称"
            }
        }
    ]
}
|
调整max_ buckets
日志信息如下:
1
|
[2019-05-28T14:59:25,614][WARN ][o.e.d.s.a.MultiBucketConsumerService] [elasticsearch01] This aggregation creates too many buckets (10001) and will throw an error in future versions. You should update the [search.max_buckets] cluster setting or use the [composite] aggregation to paginate all buckets in multiple requests.
|
从个面日志信息可以看到查询出的信息数据量超过search.max_buckets 默认值10000 需要对个值进行调整:
1
2
3
|
$ curl -XPUT "http://localhost:9200/_cluster/settings" \
  -d '{ "persistent": { "search" : { "max_buckets" : 35000 } } }' \
  --header "content-type: application/JSON"
|
索引的名称小写
elasticsearch索引名称需要全部小写,有时topic会包含大写,这时就需要转为小写,如下
在filter规则中加入
1
2
3
4
5
6
7
|
mutate {
                add_field => { "[@metadata][index_name]" => "%{[@metadata][topic]}" }
        }
        mutate {
                lowercase => [ "index_name" ]
                lowercase => [ "[@metadata][index_name]" ]
        }
|
然后现output中引用这人index_name变量即可转为小写的索引名称
1
2
3
4
|
elasticsearch {
                hosts => ["10.10.10.11:9200","10.10.10.12:9200"]
                index => "%{[@metadata][index_name]}-%{+YYYY.MM.dd}"
        }
|
elasticsearch 节点上下线
用来维护集群的机器时
 1
 2
 3
 4
 5
 6
 7
 8
 9
10
11
|
# 下线某个节点
curl -X PUT 127.0.0.1:9200/_cluster/settings -d '{"transient": {"cluster.routing.allocation.exclude._ip":"x.x.x.x"}}'

# 一次下线多个节点
curl -XPUT http://0.0.0.0:9200/_cluster/settings?pretty -d '{"transient":{"cluster.routing.allocation.exclude._ip":"10.10.10.11,10.10.10.12"}}'
# 下线的节点上的数据会逐步迁移到其他在线的节点上,等待数据迁移完成后就可以把下线的节点停掉了。

# 如果下线了一节点后,节点故障处理完成之后, 再把下线的节点上线,使用如下命令:
curl -X PUT 127.0.0.1:9200/_cluster/settings -d '{"transient": {"cluster.routing.allocation.exclude._ip":""}}'

# 即把移除的_ip 置空即可
|
相关的属性说明
可通过集群级别的 include/require/exclude 三种filter影响集群级的shard分配过程, 对应的配置项是:
1
2
3
|
cluster.routing.allocation.include.{attribute}: {value}
cluster.routing.allocation.require.{attribute}: {value}
cluster.routing.allocation.exclude.{attribute}: {value}
|
其中{attribute} 是节点的属性, 即在es配置文件中以 node. 开头的属性(除了 node.name , node.client 和 node.data 这三个); 其中有4个属性比较特殊, 分别是:
1
2
3
4
|
_ip : 表示节点的ip
_host: 表示节点的hostname
_name(或name) : 表示节点的名称, 即在Transwarp ES配置文件中的 node.name
_id : 表示节点的id; 节点id是es内部分配的
|
{value} 是属性值, 多个值之间用逗号(,)分割; 每个值支持通配符( a* , a , a , ab 这几种)。
{attribute} 和 {value} 构成了一个过滤条件。
include/require/exclude 的含义分别是:
1
2
3
4
|
include : 节点的 {attribute} 值包含指定的至少一个value, value中的各个值是OR关系。
require : 节点的 {attribute} 值包含指定的所有value, value中的各个值是AND关系。
exclude : 节点的 {attribute} 值不包含指定的所有value。
每种filter可以指定多个 {attribute} , 多个 {attribute} 之间是AND关系。
|
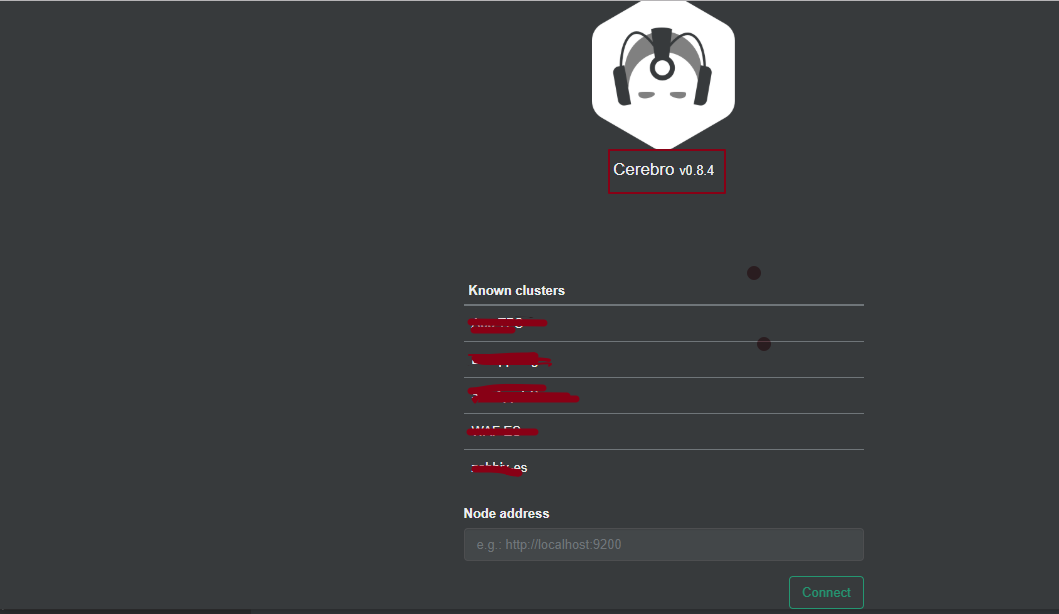
Cerebro 管理elasticsearch集群
Github地址:Cerebro
简单的配置就可使用,界面如下:
配置文件如下所示:
 1
 2
 3
 4
 5
 6
 7
 8
 9
10
11
12
13
14
15
16
17
18
19
20
21
22
23
24
25
26
27
28
29
30
31
32
33
34
35
36
37
38
39
40
41
42
43
44
45
46
47
48
49
50
51
52
53
54
55
56
57
58
59
|
# cd /usr/local/cerebro/conf
# cat application.conf | egrep -v "^#|^$"
secret = "ki:s:[[@=Ag?QI`W2jMwkY:eqvrJ]JqoJyi2axj3ZvOv^/KavOT4ViJSv?6YY4[N"
basePath = "/"
pidfile.path=/dev/null
rest.history.size = 50 // defaults to 50 if not specified
data.path = "./cerebro.db"
es = {
  gzip = true
}
# 访问认证 支持basic和ldap两各种方式
auth = {
  # either basic or ldap
  type: ${?AUTH_TYPE}
  settings {
    # LDAP
    url = ${?LDAP_URL}
    # OpenLDAP might be something like "ou=People,dc=domain,dc=com"
    base-dn = ${?LDAP_BASE_DN}
    # Usually method should  be "simple" otherwise, set it to the SASL mechanisms to try
    method = ${?LDAP_METHOD}
    # user-template executes a string.format() operation where
    # username is passed in first, followed by base-dn. Some examples
    #  - %s => leave user untouched
    #  - %s@domain.com => append "@domain.com" to username
    #  - uid=%s,%s => usual case of OpenLDAP
    user-template = ${?LDAP_USER_TEMPLATE}
    // User identifier that can perform searches
    bind-dn = ${?LDAP_BIND_DN}
    bind-pw = ${?LDAP_BIND_PWD}
    group-search {
      // If left unset parent's base-dn will be used
      base-dn = ${?LDAP_GROUP_BASE_DN}
      // Attribute that represent the user, for example uid or mail
      user-attr = ${?LDAP_USER_ATTR}
      // Define a separate template for user-attr
      // If left unset parent's user-template will be used
      user-attr-template = ${?LDAP_USER_ATTR_TEMPLATE}
      // Filter that tests membership of the group. If this property is empty then there is no group membership check
      // AD example => memberOf=CN=mygroup,ou=ouofthegroup,DC=domain,DC=com
      // OpenLDAP example => CN=mygroup
      group = ${?LDAP_GROUP}
    }
    # Basic auth
    username = ${?BASIC_AUTH_USER}
    password = ${?BASIC_AUTH_PWD}
  }
}

hosts = [
  {
    host = "http://10.10.10.11:9200"
    name = "ELK"
    auth = { // 这个配置也可以不用配置,此时的elastic 则不需要认证就能使用
      username = "username"
      password = "password"
    }
  }
]
|
<–持续更新–>
本文为原创文章,转载注明出处
如果帮到你了,还请多支持