openresty 1.15.8 安装及增加upstream_check_module和upsync_module
下载健康检测模块这个必须要用王晓开的这个开源模块
- nginx_upstream_check_module
1
|
git clone https://github.com/xiaokai-wang/nginx_upstream_check_module.git
|
- nginx-upsync-module-2.1.2
下载 nginx-upsync-module 用来动态更新upstream中的server
1
|
wget https://github.com/weibocom/nginx-upsync-module/archive/v2.1.2.tar.gz
|
安装方法
 1
 2
 3
 4
 5
 6
 7
 8
 9
10
11
12
13
14
15
16
17
18
19
20
21
22
23
24
25
26
27
28
29
30
31
32
33
34
35
|
# 解压
tar xvf openresty-1.15.8.2.tar.gz
tar xvf v2.1.2.tar.gz
# 把两个模块复制到补丁目录

cp -r nginx_upstream_check_module openresty-1.15.8.2/bundle/
cp -r nginx-upsync-module-2.1.2 openresty-1.15.8.2/bundle/

# 给nginx 打上健康检测模块
cd openresty-1.15.8.2/bundle/nginx-1.15.8/
patch -p1<../nginx_upstream_check_module/check_1.12.1+.patch

# 开始编译安装
./configure --prefix=/usr/local/openresty-1.15 \
--with-http_stub_status_module --with-debug  \
--http-client-body-temp-path=/usr/local/openresty-1.15/nginx/client_temp \
--http-proxy-temp-path=/usr/local/openresty-1.15/nginx/proxy_temp \
--http-fastcgi-temp-path=/usr/local/openresty-1.15/nginx/fastcgi_temp \
--http-uwsgi-temp-path=/usr/local/openresty-1.15/nginx/uwsgi_temp \
--http-scgi-temp-path=/usr/local/openresty-1.15/nginx/scgi_temp \
--user=nginx --group=nginx \
--with-http_ssl_module --with-http_realip_module \
--with-http_addition_module --with-http_sub_module \
--with-http_dav_module --with-http_flv_module \
--with-http_mp4_module --with-http_gunzip_module \
--with-http_gzip_static_module --with-http_random_index_module \
--with-http_secure_link_module  --with-http_auth_request_module \
--with-mail --with-mail_ssl_module  --with-file-aio --with-ipv6 \
--with-luajit --with-cc-opt='-O2 -g -pipe -Wp,-D_FORTIFY_SOURCE=2 -fexceptions -fstack-protector \
--param=ssp-buffer-size=4 -m64 -mtune=generic'  \
--add-module=./bundle/nginx-upsync-module-2.1.2 \
--add-module=./bundle/nginx_upstream_check_module

gmake
gmake install
|
开始验证
先用docker 启动两个nginx 命令如下:
1
2
3
4
5
6
7
8
|
docker pull nginx
docker run -itd --name nginx01 -p 8081:80 -v /data/nginx01/html:/usr/share/nginx/html nginx

docker run -itd --name nginx02 -p 8082:80 -v /data/nginx02/html:/usr/share/nginx/html nginx

# 分别在两个html目录放入一个html文件
echo "<h1>nginx01</h1>" >> /data/nginx01/html/index.html
echo "<h1>nginx02</h1>" >> /data/nginx02/html/index.html
|
增加以nginx配置
 1
 2
 3
 4
 5
 6
 7
 8
 9
10
11
12
13
14
15
16
17
18
19
20
21
22
23
24
25
26
27
28
29
30
31
32
33
34
35
|
# 查看nginx状态及upstream_show
server {
     listen 8089;
	 location = /upstream_show {
            upstream_show;
	 }

	 location /nginx_status {
            stub_status;
            access_log   off;
	 }

	 location /nstatus {
             check_status;
             access_log   off;
	 }
}

# 增加一个nginx代理及upstream
server {
	listen       8080 backlog=65533;
   	server_name  localhost;

	location  / {
        proxy_pass http://web;
        access_log  logs/nginx.log  main;
        error_log  logs/nginx_error.log;
	}
}
upstream web {
	least_conn;
	server 127.0.0.1:8081;
	server 127.0.0.1:8082;
    check interval=5000 rise=1 fall=3 timeout=4000;
}
|
启动nginx
1
2
3
4
|
nginx -t  # 检测配置文件是否正常
nginx   # 启动nginx
nginx -s reload # 重载nginx
nginx -s stop # 停止nginx
|
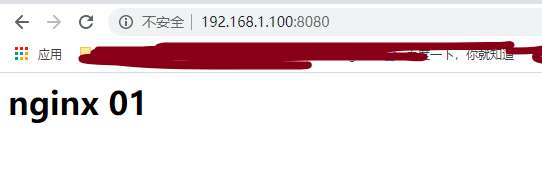
使用浏览器打开 http://youip:8080/
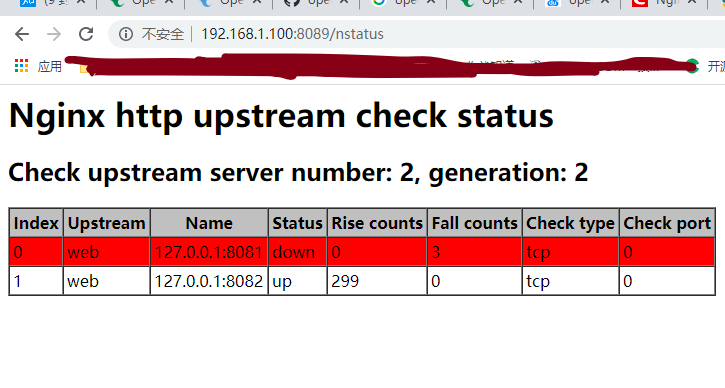
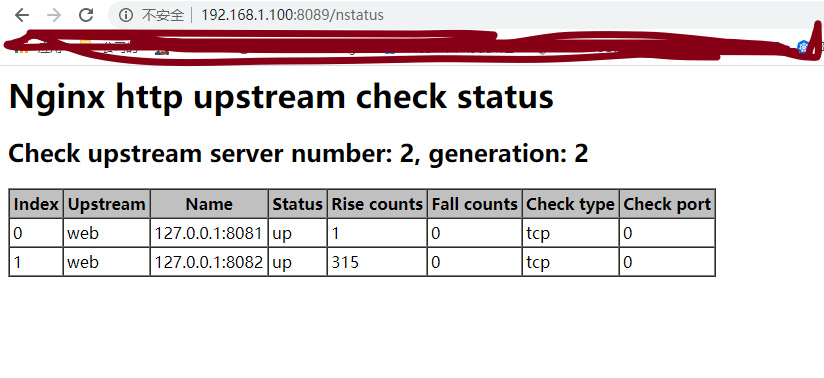
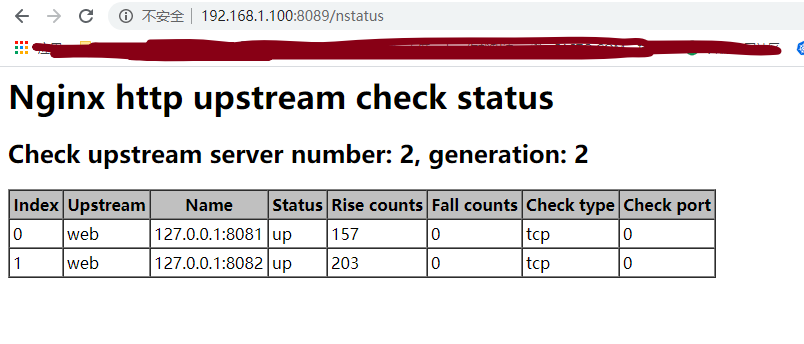
查看upstream 节点健康状态
http://youip:8089/nstatus
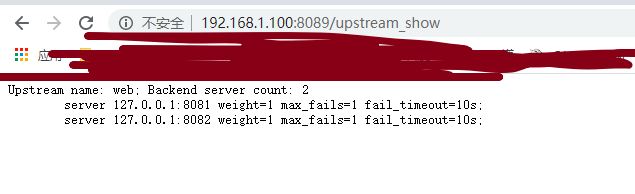
http://youip:8089/upstream_show 这个是openresty 显示的upstream信息
现在可以stop一个docker 启动的nginx来验证nginx的upstream 健康检测模块是否正常使用
通过浏览器可以看到ningx01已是down了 说明可以正常检测到异常的节点